Introduction
In this post I go through the detailed steps to get you set up with QtCreator Android app development. If you’re like me and like Qt/QtQuick/QML, or you’d simply like to explore this option, you might find the detailed set of steps, collected in one place helpful.
The steps described here worked on 64-bit Linux computer. If you’re on Mac or Windows, similar steps might work, but I haven’t tested them. Note that Qt for Android documentation is here but we’ll go slowly, one step at a time, and also avoid common pitfalls along the way.
This guide has 3 parts:
- Set up Android tools
- Install QtCreator and Qt
- Configure QtCreator with Android
Android
First let’s get Android stuff set up:
- Install Java and KVM if you don’t have them yet. Either OpenJDK or Oracle Java should work. I use OpenJDK 1.8 which works great. Also follow KVM installation instructions for your environment.
- Download Android SDK CLI tools
- Go to Android SDK downloads
- Scroll down to “Command line tools only” section
- Pick the SDK tools package, agree to terms and save it
- For example, for me it was sdk-tools-linux-4333796.zip
- Download Android NDK tools
- Note that we will download an older release of NDK tools which you’ll need later for compiling OpenSSL for Android, which is necessary if you intend to make SSL connections from your app, such as requests to https:// resources
- Go to Android NDK older release downloads
- Agree to terms which will take you to the list of NDKs
- Scroll to the end and download revision 10e for your OS
- For example, for me it was android-ndk-r10e-linux-x86_64.zip
- Unzip both Android SDK and NDK.
- Quick notes: (1) I’ll assume all your downloads are in ~/Downloads; (2) I personally like to keep ad-hoc (non-package manager installed) applications under ~/Applications and I’ll provide commands for that in the rest of the guide. Feel free to substitute that location to something else, but be mindful to change paths accordingly.
-
mkdir -p ~/Applications/android && cd ~/Downloads
-
unzip sdk-tools-linux-4333796.zip -d ~/Applications/android/
-
unzip android-ndk-r10e-linux-x86_64.zip -d ~/Applications/android/
- Install SDK components
-
-
cd ~/Applications/android
-
- Quick note: if you use Java >= 1.9 (or 9), and get java.lang.NoClassDefFoundError when running sdkmanager or avdmanager below, you might need to edit those 2 files and make sure the following variable is set
DEFAULT_JVM_OPTS='"-Dcom.android.sdklib.toolsdir=$APP_HOME" --add-modules java.xml.bind'
- Update SDK
tools/bin/sdkmanager --update
- Install NDK bundle
tools/bin/sdkmanager --install ndk-bundle
- Install SDK tools for API level 26
tools/bin/sdkmanager --install "platform-tools" "platforms;android-26"
- Install the system image
tools/bin/sdkmanager --install "system-images;android-26;google_apis;x86_64"
-
- Create an Android virtual device named “pixel”
tools/bin/avdmanager create avd -n "pixel" -d 19 -k 'system-images;android-26;google_apis;x86_64'
- Launch emulator to test our “pixel” virtual device
ANDROID_EMULATOR_USE_SYSTEM_LIBS=1 ./emulator/emulator -avd pixel
- You should see an Android emulator start to boot; you can let it boot and then shut it down
If everything works so far – congrats! You have set up your Android environment.
Qt and QtCreator
Now, let’s take care of your Qt development environment.
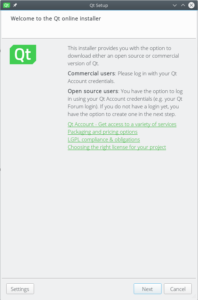
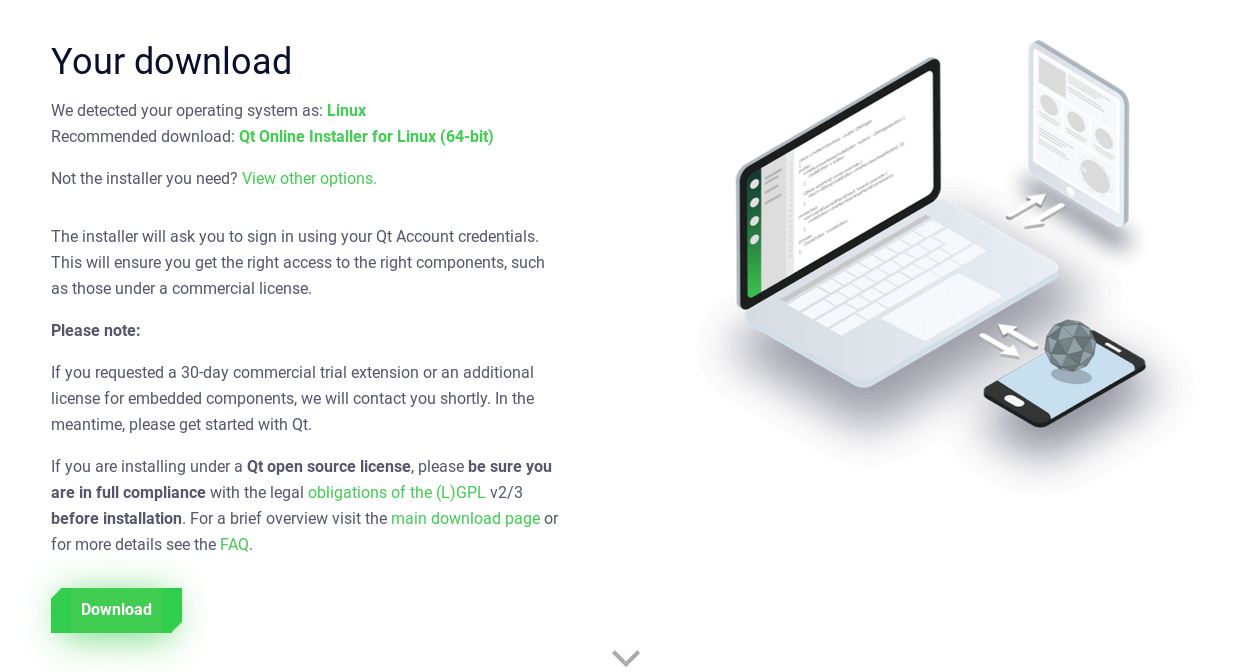
- Download the installer from Qt downloads – pick open source version and download the online installer

- Run the installer
$ cd ~/Downloads
$ chmod 0755 qt-unified-linux-x64-3.0.5-online.run
$ ./qt-unified-linux-x64-3.0.5-online.run - This will launch the installer which will guide you through the steps to install Qt and QtCreator in the location of your choice.
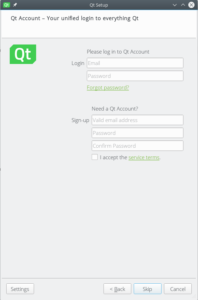
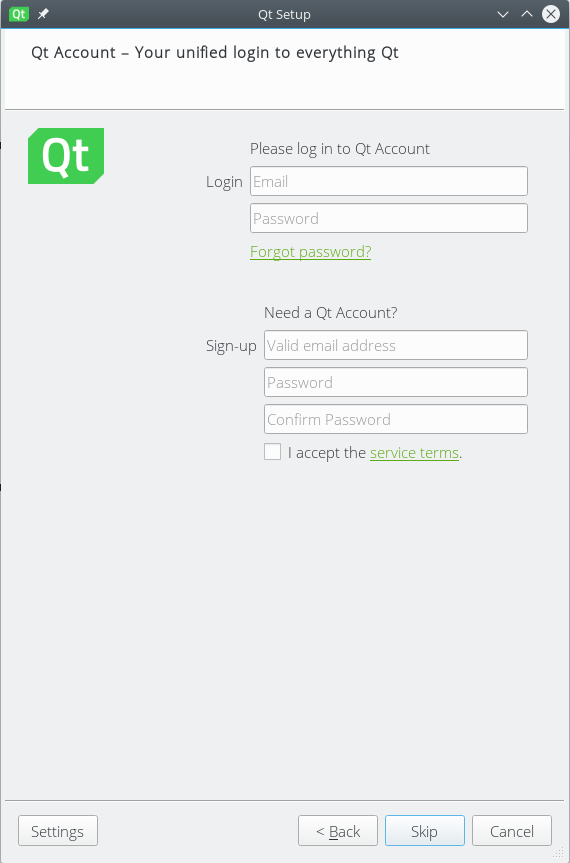
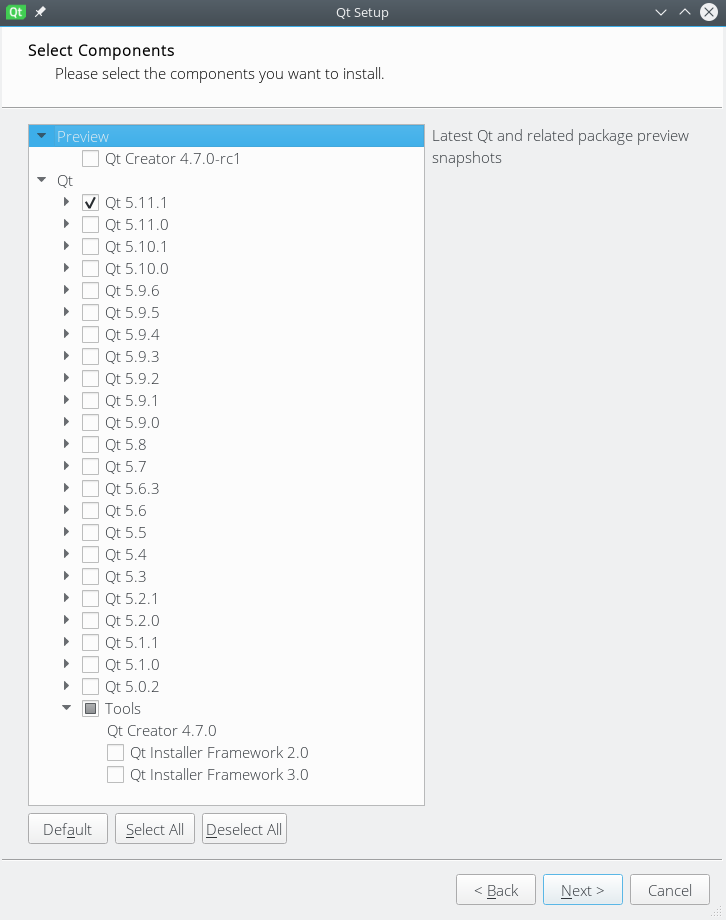
Note that you can safely skip through the login step.When you get to the “Select Components” step, make sure to select the most recent stable Qt version, in this case 5.11.1. You’ll also notice that under “Tools” section, the QtCreator is pre-selected and cannot be unchecked.

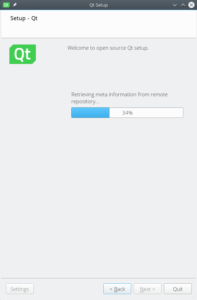
Proceed with the installation and wait for it to finish. This might take a while (10-15 mins), depending on your internet connection. Once completed, you should have a working installation of QtCreator.


Configure QtCreator for Android
So let’s open QtCreator now and hook it up with our Android environment.
- Start QtCreator
- Click on “Tools” menu, then “Options”
- Select “Devices” and “Android” tab
- Set Java executable path and make sure green check mark says “Java Settings are OK.”
- Set Android SDK and NDK locations and make sure green check mark says “Android settings are OK.”
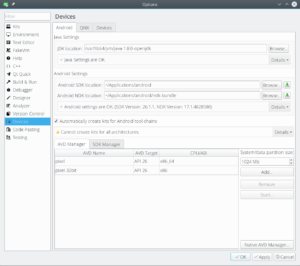
- Make sure your virtual device (AVD that we named “pixel”) and SDK are detected in their corresponding tabs below in “AVD Manager” and “SDK Manager”
- You should be able to boot your virtual device by selecting it and clicking “Start”
- Now select “Kits” from the left side of the Options window
- QtCreator should either have auto-detected the available kits, or it should have asked you to download and install them – in either case, make sure kits for Android and desktop are listed there


Success
At this point, you should be ready to start making Qt apps for Android. Next step is to create a simple app! Check out numerous examples on Qt website, or the ones included with your QtCreator.
And why not clone BARTist and contribute?
Enjoy.